Change language

Follow us on


 Share
Share
Precision is crucial when installing a quartz countertop joint. Whether you choose a DIY approach or hire a professional, the outcome largely depends on technique, tools, and experience. This guide examines both methods, outlining essential tools and industry best practices to help you make an informed decision.
A quartz countertop joint is where two slabs meet. A well-executed joint should be nearly invisible, requiring precise cutting, alignment, and secure fastening with countertop joint connectors and fasteners.
A successful installation relies on accurate measurements, high-quality adhesives, and proper sealing. Poor execution can result in structural weaknesses, moisture damage, and an uneven surface. Evaluating DIY versus professional installation ensures the best results for your project.
DIY installation can be cost-effective, eliminating labor costs and providing an opportunity for hands-on learning and customization. Additionally, tackling the project independently enhances craftsmanship and problem-solving skills, which can be beneficial for future home improvement projects.
However, DIY installation comes with challenges. Precision is critical—minor miscalculations can result in visible seams and poor alignment. Specialized tools, such as countertop joint connectors, fasteners, and precision saws, are required, adding to the overall cost. Without professional expertise, the risk of uneven seams, improper sealing, and access to subpar materials increases, which can compromise the longevity and aesthetics of the installation.
Hiring a professional ensures precision cutting with specialized equipment, leading to a flawless finish. Professionals use high-quality countertop joint fasteners and adhesives, ensuring seamless joints that enhance the countertop's durability. Their experience allows them to complete the installation efficiently, saving time and reducing potential errors. Many professionals also offer warranties, providing peace of mind and long-term assurance of quality. Additionally, they have access to premium quartz and adhesives, often unavailable to the general public.
Despite these advantages, professional installation has drawbacks. The primary concern is cost—labor fees and material expenses can be significantly higher than a DIY approach. Scheduling may also be a challenge, as skilled professionals may have limited availability. Homeowners may also have less control over design details, requiring clear communication to ensure expectations are met.
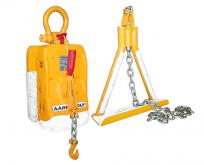
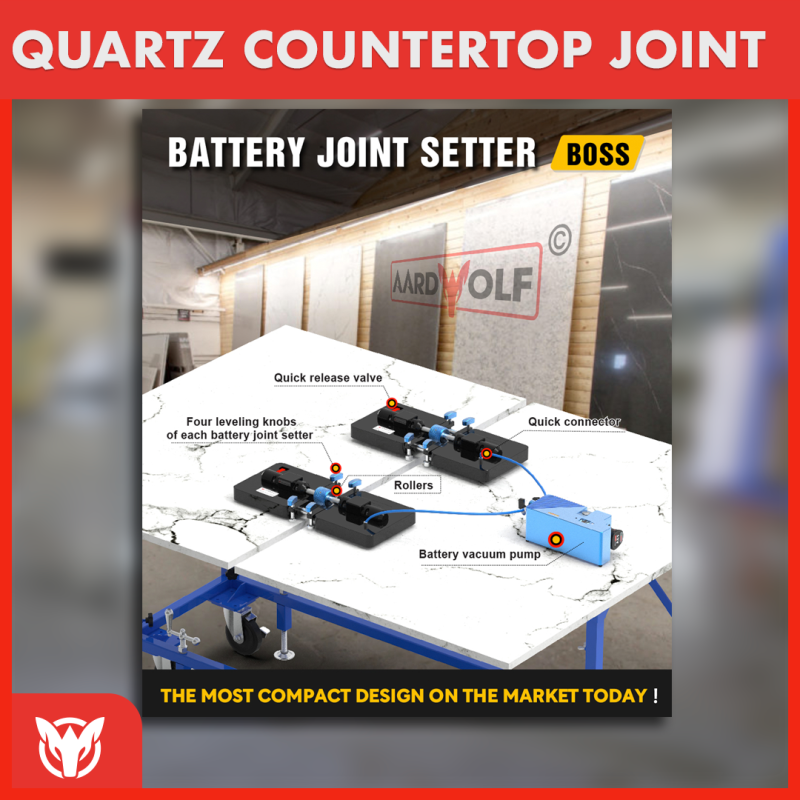
For those looking to join slab with precision, investing in high-quality tools is essential. One of the most effective tools for achieving a flawless quartz countertop joint is the Aardwolf Battery Joint Setter. This specialized tool provides superior clamping power, ensuring a secure and precise joint between slabs. Designed for professional and DIY use, the Aardwolf Battery Joint Setter helps eliminate gaps, misalignment, and uneven surfaces by applying consistent pressure during the curing process. Its advanced vacuum system holds slabs firmly in place, reducing the risk of movement while adhesives set. Whether you are a professional installer or a DIY enthusiast, incorporating the Aardwolf Battery Joint Setter into your workflow can significantly improve the final result.
One of the most common mistakes is inaccurate measurements—small miscalculations can lead to noticeable seams. Poor sealing is another issue, as weak adhesive application allows moisture to penetrate, potentially damaging the countertop over time. Skipping the leveling process can cause slabs to shift, compromising the durability of the joint. Selecting the wrong adhesive can also lead to weak joints, making it crucial to choose the appropriate sealant for long-term stability. Additionally, failing to clamp slabs securely can result in shifting and misalignment during the curing process. When working with materials like quartz or looking to join granite, avoiding these errors is key to achieving a professional result.
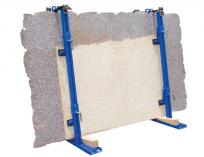
The first step is precise measurement and cutting of the slabs to ensure a proper fit. Once cut, the slabs should be dry-fitted to check alignment before applying adhesives. After confirming the fit, countertop joint fasteners and adhesives should be applied to secure the slabs. The next step involves leveling the slabs using a leveling system, ensuring an even surface. Once aligned, clamps and suction cups should be used to hold the slabs in place while the adhesive cures. Finally, the joint should be polished and sealed with epoxy or a seam filler for a seamless finish. Using countertop tools designed for joint precision can help achieve optimal results.
For experienced DIYers with the necessary tools, a self-installation approach can be rewarding and cost-effective. However, professional installation guarantees long-term durability, efficiency, and an almost invisible granite countertop joint or quartz seam. When making a decision, factors such as project complexity, available tools, time commitment, and skill level should be considered. While DIY offers customization and savings, professional installation provides reliable craftsmanship and peace of mind.
Achieving a flawless quartz countertop joint requires precision, proper tools, and expertise. While DIY installation provides cost savings and hands-on experience, professional installation guarantees high-quality craftsmanship and a seamless result. The best approach depends on your budget, skill level, and expectations, ensuring a durable and aesthetically pleasing countertop for years to come.
Sign up to receive the latest info on new Aardwolf products, special offers and more.
By signing up you agree to receive emails from Aardwolf with news, special offers, promotions and other information. You can unsubscribe at any time.