言語を変更する

フォローする


 Share
Share
Installing jib cranes properly is critical to ensuring both operational efficiency and workplace safety.
Whether it’s a freestanding, wall mounted, ceiling mounted, pillar mounted, or articulating jib crane, a correct and well-planned installation process sets the foundation for long-term performance.
This guide provides a comprehensive, step-by-step approach to installing different types of jib cranes, highlighting key considerations, tools required, and best practices for success.
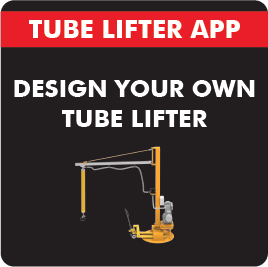
For an overview of available crane models, visit Jib Crane Categories.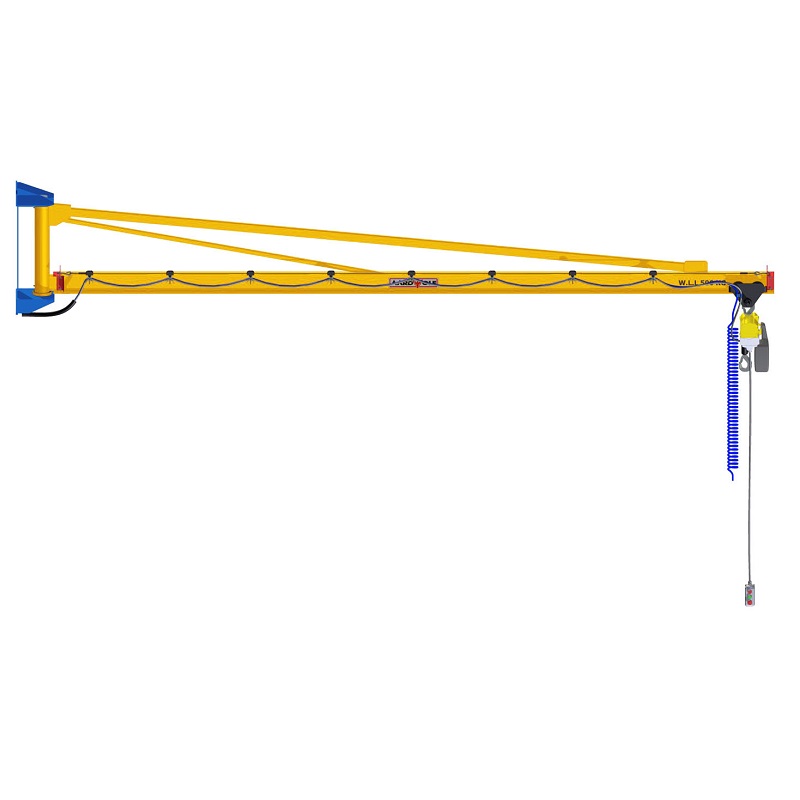
Improper installation can result in misalignment, excessive wear, or even structural failure—putting both operators and equipment at risk. A correctly installed jib crane:
Maximizes lifting capacity and swing coverage
Reduces stress on components
Ensures smooth and safe operation
Prolongs the lifespan of the equipment
To understand the core functionalities and configurations of each crane type, explore The importance of Jib Cranes solutions.
Before diving into installation, ensure the selected crane matches the requirements of your workspace and load type.
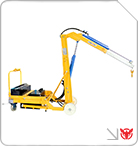
Freestanding Jib Cranes – Ideal for open areas and offer 360° rotation
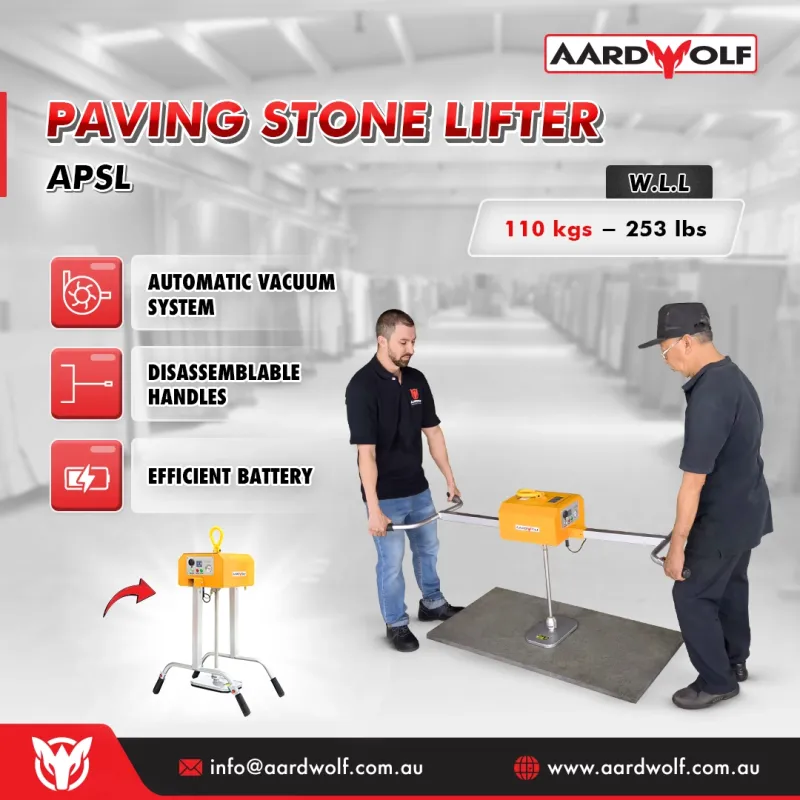
Wall Mounted Jib Cranes – Space-saving design; perfect for linear workstations. View wall mounted jib cranes
Ceiling Mounted Jib Cranes – Preserve floor space in crowded production environments
Articulating Jib Cranes – Articulating jib cranes products allow flexible movement around obstructions
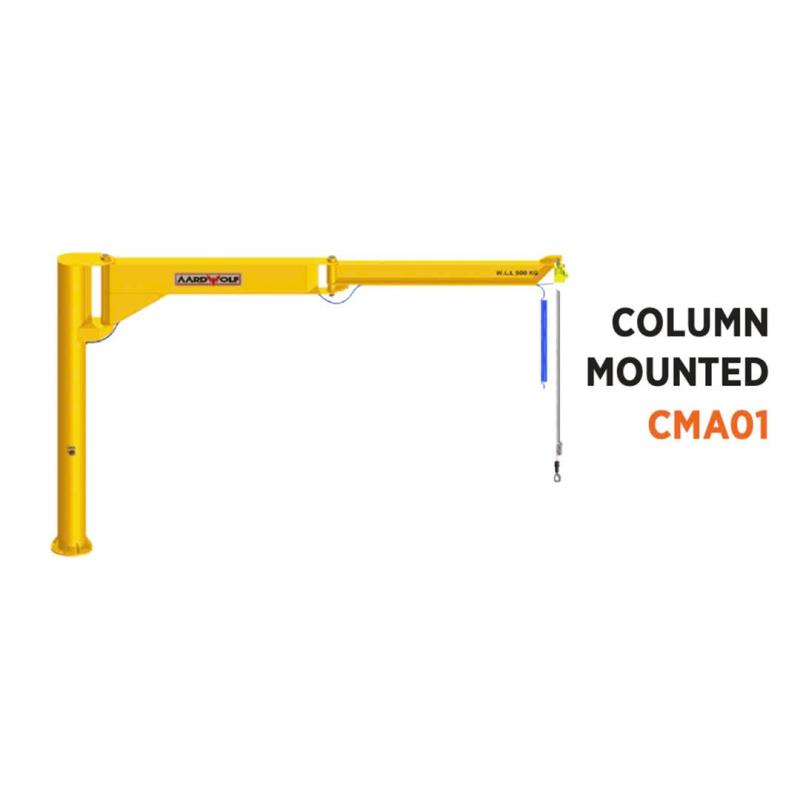
Pillar Jib Cranes – Mounted to structural columns for consistent lifting zones
Need a comparison between crane types? Refer to Difference between crane and jib cranes options
Measure ceiling height, floor space, and clearance
Identify load paths and lifting zones
Evaluate concrete slab strength (usually requires ≥ 150 mm thick concrete with reinforcement)
Anchor bolts and epoxy (for freestanding cranes)
Structural mounting brackets (for wall or ceiling-mounted models)
Torque wrench, rotary hammer, leveling tools
Certified lifting equipment to erect crane components
Mark the bolt pattern on the concrete floor using the base plate as a guide
Drill anchor holes with the specified depth and diameter
Insert anchor bolts and pour grout or epoxy if required
Allow curing time per manufacturer guidelines (usually 24–48 hours)
Ensure the wall is load-bearing and made of reinforced concrete or steel
Use high-tensile mounting bolts and backplates
Double-check mounting height and alignment to avoid angular load misalignment
Secure directly to structural ceiling beams using rated clamps or welding
Verify overhead clearance and swing radius before final bolting
For freestanding or pillar models, carefully position the mast over the installed bolts. Use leveling shims as needed to ensure perfect vertical alignment.
Tighten base nuts with a calibrated torque wrench
Recheck plumb alignment using a spirit level
Use anti-vibration washers if applicable
Slide the trolley onto the boom before final attachment
Position the boom on top of the mast or wall bracket
Use heavy-duty pins or brackets to secure boom rotation point
Verify full rotational movement (180° or 360° based on model)
Check trolley travel range and ensure no obstructions or friction
Depending on your hoist type (manual or electric), follow these steps:
Mount the hoist onto the trolley via bracket or hook
Connect all power cables securely if electric
Test up/down control functions and brake responsiveness
Verify lifting height and maximum load capacity
For detailed mounting procedures by model, check: How to install an effective jib crane
Conduct a dry run with an unloaded hoist
Observe boom swing and trolley movement for smooth operation
Test with a load at 125% of rated capacity (as per ASME B30.11 or local codes)
Monitor for deflection, vibration, or noise
Check that hoist, brakes, and swing mechanism handle the load without lag
Verify all anchor bolts are tightened to torque specs
Confirm that all electrical connections are grounded and protected
Install limit switches if required
Provide clear signage indicating max load, rotation limits, and emergency stops
Lubricate pivot points monthly
Inspect trolley wheels and hoist chains weekly
Tighten mounting bolts quarterly
Perform a full inspection annually with a certified crane technician
| Issue | Possible Cause | Fix |
|---|---|---|
| Boom misalignment | Uneven base or wall brackets | Shim or level mount |
| Trolley sticks or jams | Dirty or warped track | Clean or replace track |
| Hoist movement delay | Electrical lag or miswired controls | Check wiring and test load sensor system |
| Excess vibration | Loose anchor bolts or imbalance | Retorque bolts and re-check hoist balance |
Whether you're installing a compact wall mounted jib crane, a flexible articulating model, or a full-scale freestanding jib crane, success depends on precision at every step. Proper installation not only safeguards your investment but also creates a safer, more productive environment.
To explore suitable models for your facility, browse Jib Crane Categories. For technical specifications, performance guides, or additional support, Aardwolf provides detailed resources to help you implement reliable jib cranes with confidence.
References
1. How to operate a Jib Cranes safely
3. Over brace jib crane wall mounted
5. Is a Jib Crane a Gantry Crane
6. Articulated Jib Crane Wall Mounted
8. Manual Counterbalance Crane
10. Over Braced Jib Crane Column Mounted
Aardwolfの新製品、特別オファーなどの最新情報を受け取るにはご登録ください。
登録すると、Aardwolfからニュース、特別オファー、プロモーション、その他の情報を含むメールを受け取ることに同意したことになります。いつでも配信停止できます。